

This overview is by no means comprehensive, but below are the basic steps for creating with metal clay.
Before You Open Your Clay
It is important to spend some time thinking about your design. Make a few drawings and play with ideas. Then assemble all of the tools and supplies you will need.
The Steps
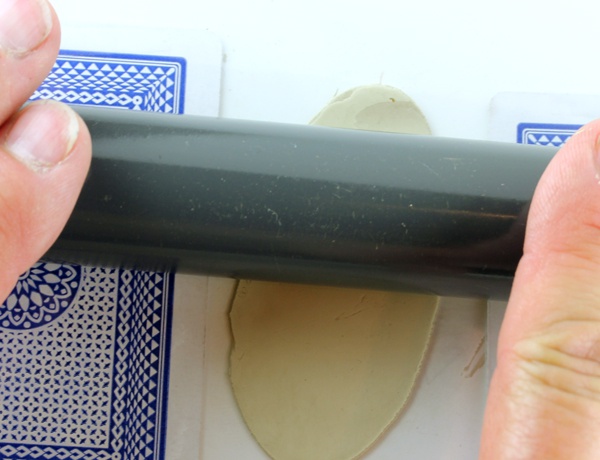 |
Rolling the clay to an even thickness. Use a small clay roller, a non-stick work surface, and playing cards as a thickness guide. |
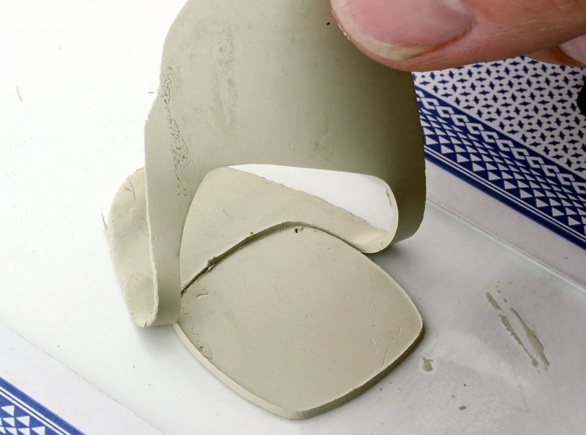 |
Cutting the clay. Templates and molds come in handy here. |
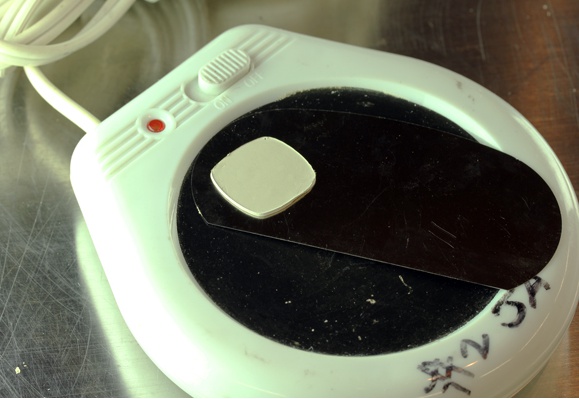 |
Drying. Using a coffee warmer or fruit dehydrator speeds the process. Pieces can be easier to join or carve when they are dry. Note: Do not use the same dehydrator for both metal clay and food use. |
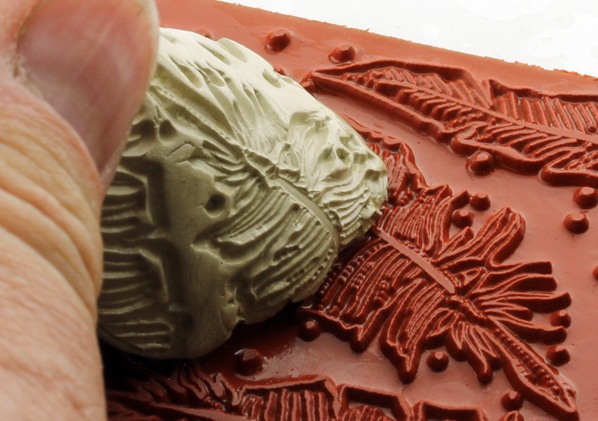 |
Adding texture. This is where metal clay really shines. Add texture with finger prints, rubber stamps, sea shells…the possibilities are endless! |
 |
Joining pieces of clay. Metal clay pieces can be joined while the clay is moist with a paste/slip. Bone dry pieces can also be joined with paste/slip or simply with water. |
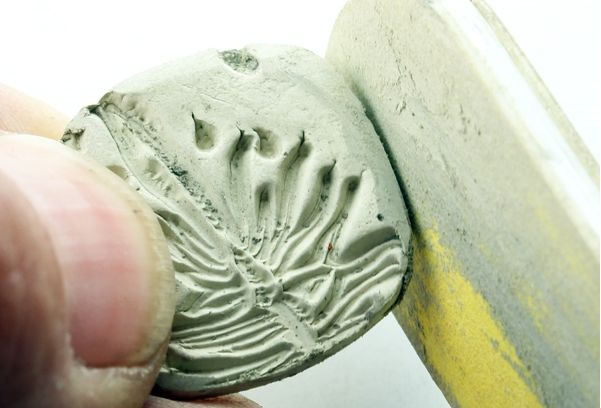 |
Sanding and refining dry clay. Artists choose to use metal files, sandpapers, and even nail files to smooth and shape pieces before firing. |
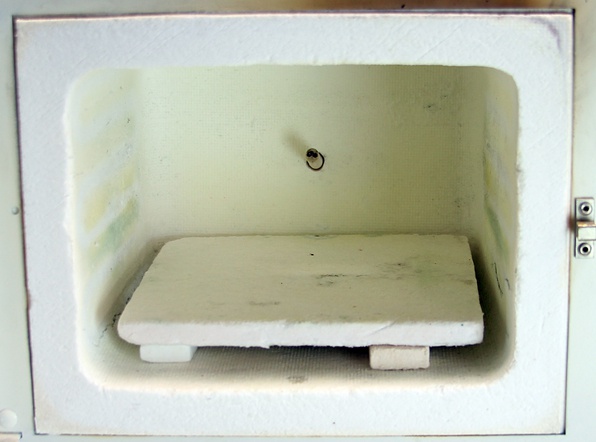 |
Firing. Shown is the setup for firing silver clay on a kiln shelf. Base metals are fired in vessels filled with carbon. While the kiln shown is a front-loading kiln, virtually any kind of small kiln will work. |
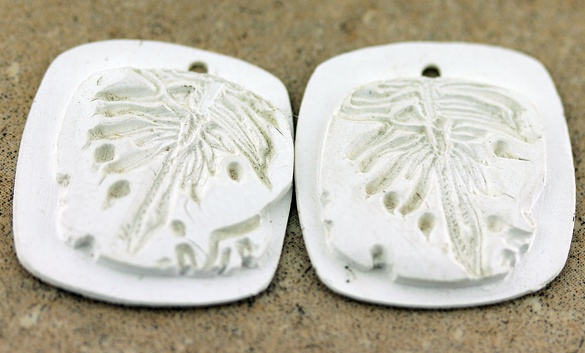 |
Silver clay just out of the kiln has a white appearance. |
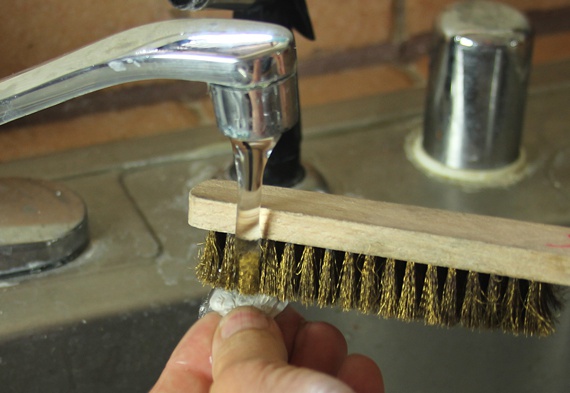 |
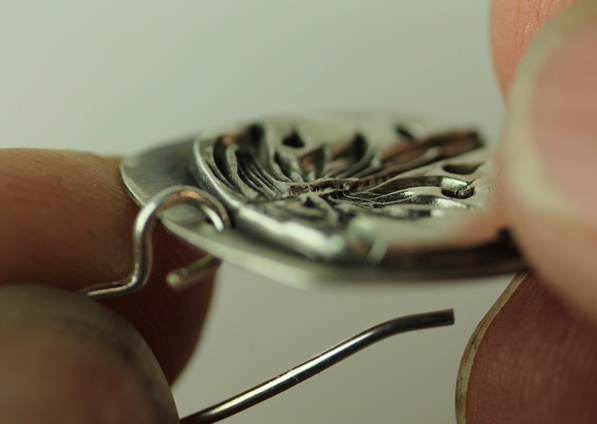
Finishing after firing. Brushing clay with a wire brush will produce a matte finish. Doing this under running water with a little soap helps prevent scratching. Other metal clays will also have a dull appearance after firing. With some burnishing, the metals will shine! |
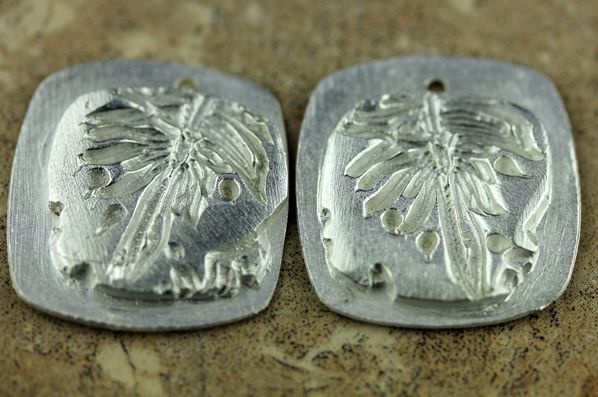 |
Matte finish after being brushed with a wire brush. From here, pieces can be considered finished. Or they may be tumbled, polished or burnished to a high shine. Artists may also apply chemicals to the surface of the silver, such as patinas, to alter its appearance. |
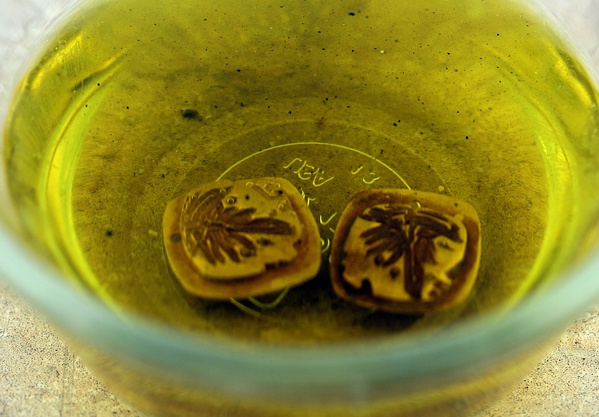 |
Patina, if desired. Application of a liver of sulfur solution to create contrast. |
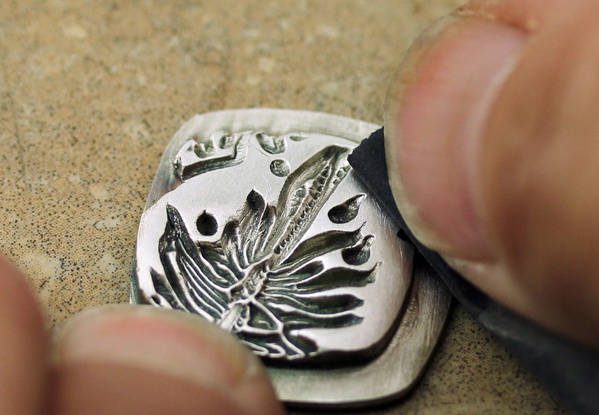 |
Bring out the shine. Polishing and burnishing high spots increases the contrast with the patina. |
 |
Finishing off with findings, chains, beads, etc. |
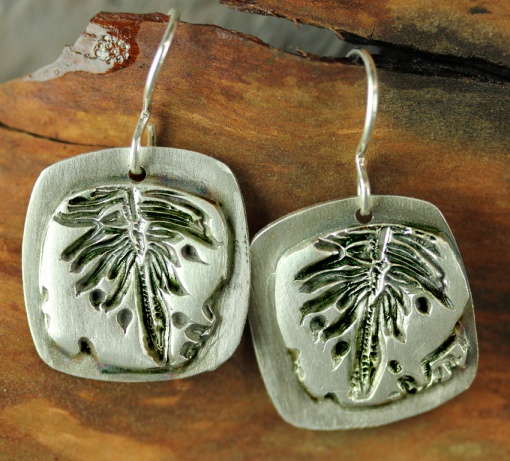 |
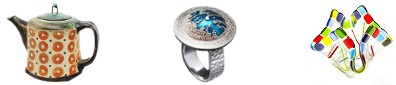
The finished product! |